
How to Cover Vitiligo on Your Face Completely — Step by Step Guide 2026
Covering vitiligo on the face is one of the most technically demanding things you can do with makeup and one of the most life changing when it works. I know this from both sides. I have had vitiligo since I was 11. I am also a trained paramedical skin camouflage specialist who has spent over a decade helping clients with visible differences, including vitiligo, burns, birthmarks, and scarring achieve coverage that genuinely looks like skin. Bonus tips on how to make it last.
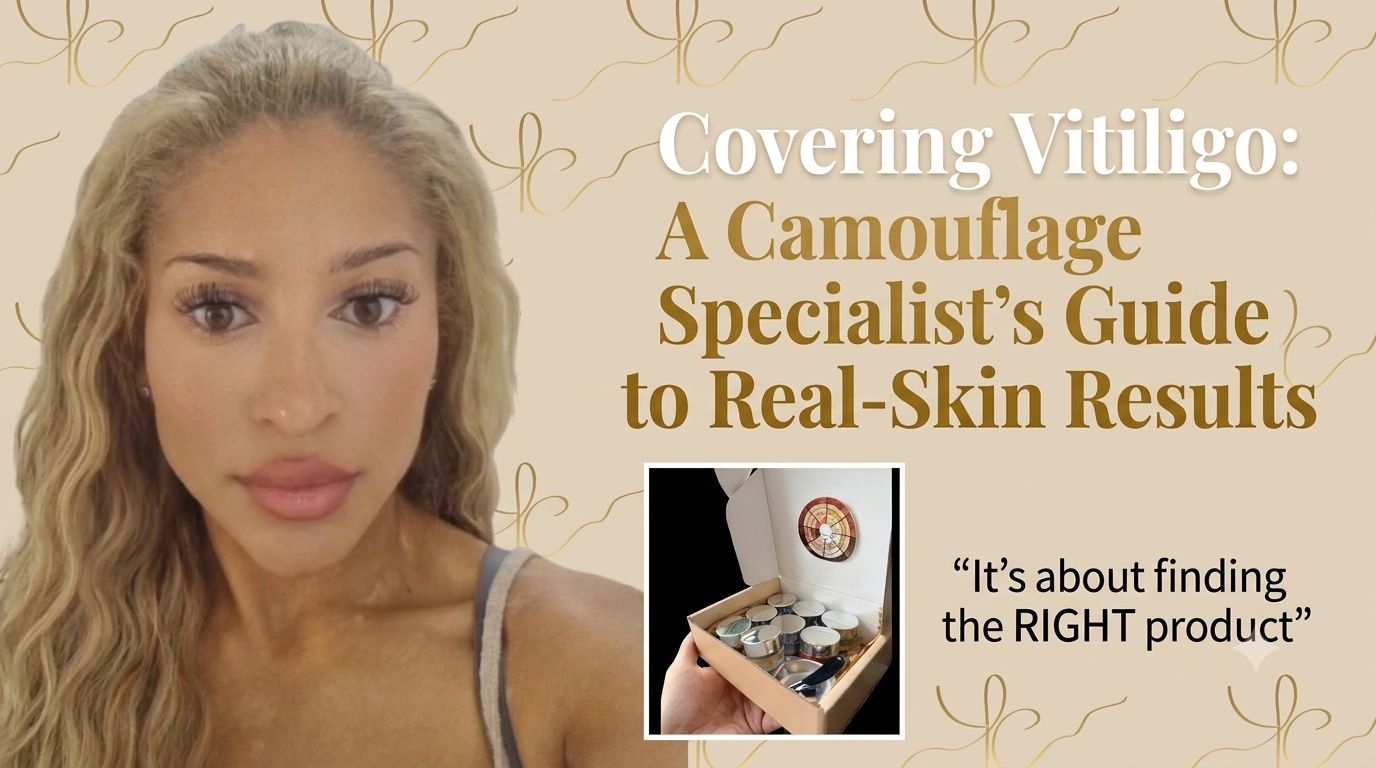
Most people who struggle to cover their facial vitiligo are not doing anything wrong. They are using the wrong product, and often they were never given the right information about what the right product actually is. This is the complete guide. Every step. Every mistake to avoid. Everything I know from personal and professional experience about covering vitiligo on the face. Why Facial Vitiligo Is Harder Than Body Vitiligo On the body, coverage can be heavier and less precise. Legs, arms, and torso are observed from a distance and in passing. The face is different. People look at it directly, from close range, in conversation, in photographs. The margin for error is smaller. The movement talking, smiling, all expressions stresses coverage in ways that body application doesn't encounter. And the emotional stakes are higher, because the face is where identity lives. The product and technique have to be better. This guide gives you both.
The Products You Need:
You need a specialist skin camouflage formula not a high street concealer, not a full coverage foundation. Specialist camouflage products are formulated with a significantly higher pigment load than standard cosmetics and offer customisable shade mixing that allows a truly precise colour match. The Kandor Camouflage Method Set was created specifically for this.
Three base shades plus six professional colour adjusters allow you to build an exact colour match for your individual skin tone. You will also need a loose translucent setting powder.
Before You Start — Preparation That Changes Everything.
Moisturise thoroughly. Vitiligo patches are often drier than surrounding skin. Any coverage product applied to dry or dehydrated skin will look patchy and break down faster. Apply a lightweight moisturiser and allow it to absorb fully forat least five minutes. Apply SPF if going outdoors. Depigmented patches have no natural UV protection and will burn significantly faster than surrounding skin. Work in natural light. The most common cause of inaccurate colour matching is matching under artificial light. Do your initial application either by a window or outdoors.
Step by Step — How to Cover Facial Vitiligo
Step 1 — Mix your shade: On the mixing palette, combine your closest base shade with colour adjusters in small amounts. Check against your surrounding skin in natural light until the mixed shade becomes genuinely difficult to distinguish from your skin.
Step 2 — Apply to the patch: Using a clean fingertip, apply the mixed shade to the depigmented area using a firm patting motion. Pat, not rub. Apply the first layer thinly.
Step 3 — Blend the edges: Using a very light touch, blend the outer edge of the covered area into surrounding skin using small circular movements. No visible line of demarcation. This is the step that makes coverage look like skin.
Step 4 — Build if needed: For deeper contrast patches, allow thirty seconds for the first layer to set, then apply a second thin layer followed by edge blending again.
Step 5 — Set with powder: Press loose translucent setting powder firmly into the covered area with a powder puff. Pressing motion, not sweeping. This locks coverage in place for all-day wear.
Step 6 — Continue with normal makeup: The camouflage layer is stable beneath any additional makeup.
Area-Specific Guidance:
Around the mouth — highest movement area. Apply most thorough setting here. Around the eyes — thinnest skin on the face. Apply with lightest possible hand. One very thin layer, blended carefully, set lightly. Across the nose — higher oil production. Thorough setting important. A primer before coverage extends longevity. Along the hairline and jawline — where coverage meets uncovered skin most visibly. Take coverage just slightly past the patch boundary and blend out gradually.
The Most Common Mistakes: Matching colour under artificial light — always use natural light. Using too much product — more product does not mean better coverage. Excessive application looks heavy and breaks down faster. Not setting — every person who has told me their camouflage doesn't last has not been setting properly. Skipping the edge blend, covered areas that look like makeup patches are almost always a blending failure rather than a colour matching failure. Using the wrong shade base — if your mix consistently looks wrong when it dries, you may be starting from the wrong base shade.
Frequently Asked Questions
How long does it take to cover vitiligo on the face? Once you have your colour formula established, 10-15 minutes. As you get faster with the technique, 7-10 minutes is achievable.
Can I cover vitiligo if I have oily skin? Yes. A mattifying primer before coverage and firm setting with powder in two light layers extends wear on oily skin.
Will camouflage makeup make vitiligo worse?
There is no evidence that correctly formulated skin camouflage makeup worsens vitiligo. The condition is caused by an autoimmune response, not by topical products.
How do I remove camouflage makeup?
Remove with a gentle oil-based cleanser or soap and water. Follow with moisturiser — particularly important for vitiligo patches.
Is there camouflage makeup for vitiligo on dark skin?
Yes — the Kandor Camouflage Method Set includes a Deep base shade and the orange and blue adjusters specifically support darker skin tone correction and matching.
ref; vitiligosociety.org